
46 Activity 2: DNA Quantification with Qubit
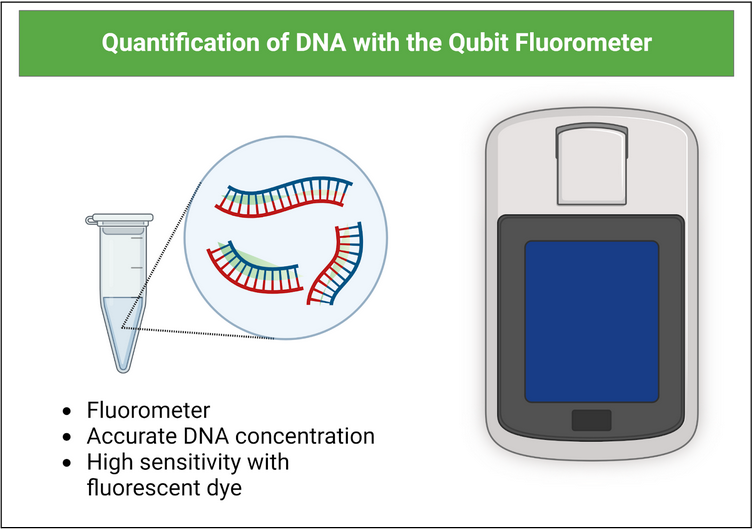
The Qubit fluorometer will allow us to accurately quantify the concentration of the DNA you isolated. Created with BioRender.com
Follow the link, scroll to the bottom of the webpage and watch this video about the Qubit fluorometer: Qubit™ 4 Fluorometer video (4:29 min)
- The Qubit™ 1X dsDNA HS or BR Assays require two standards. We use thin-wall, clear, 0.5-mL PCR tubes (Cat. No. Q32856) for the Qubit™ 4 Fluorometer.
- Label the tube lids with a Sharpie. Note: Do not label the side of the tube as this could interfere with the sample read. Label 3 tubes (2 for standards and 1 for your sample):
- “1” (standard)
- “2” (Standard)
- Bacterial species number, Ex: “105” (sample)
- Prepare your standards to calibrate your sample measurement:
- Each standard tube requires 190 µL of Qubit™ working solution
- Add 10 µL of each Qubit™ standard to the appropriate tube.
- The final volume in each tube must be 200 µL.
- Prepare your sample:
- Each sample tube requires 195 µL of Qubit™ working solution
- Add 5 µL of each user sample to the appropriate tube using a p10.
- The final volume in each tube must be 200 µL.
- Mix each sample by vortexing for 5 seconds.
- Allow all tubes to incubate at room temperature for 2 minutes. Use a timer and keep the samples protected from light.
- Calibration of the Qubit™ Fluorometer requires the standards to be inserted into the instrument in the right order. Read the prompts from the Qubit to insert the standards in the correct order. Note: we will assist you through this process. The information provided below is so you can review the entire process.
- On the Home screen of the Qubit™ Fluorometer, press the 1X dsDNA High Sensitivity (HS) assay icon if using the high-sensitivity range or 1X dsDNA Broad Range (BR) for the assay with wider DNA concentration range. The “Read standards” screen is displayed. Press Read Standards & run samples to proceed. Note: If you have already performed a calibration for the selected assay, the instrument prompts you to choose between reading new standards and running samples using the previous calibration. If you want to use the previous calibration, press Run samples and skip to reading the samples.
- Insert the tube containing Standard #1 into the sample chamber, close the lid, then press Run standards. When the reading is complete (~3 seconds), remove Standard #1.
- Insert the tube containing Standard #2 into the sample chamber, close the lid, and then press Read standards. When the reading is complete, remove Standard #2. The instrument displays the graphical results on the Standards complete screen.
- Press Next from the Standards complete screen to read your Samples.
- In the Sample volume screen, enter the sample volume added to the assay tube (from 1-20 µL). Enter the volume directly in the sample volume text box, use the + or – buttons or adjust the sample volume wheel to select the sample volume added to the assay tube. Note: The sample volume used (1-20 µL) changes the assay accuracy range. A different sample volume or assay may be required if the sample concentration is outside of what the assay can accurately quantify.
- Insert a sample tube into the sample chamber, close the lid, then press Run sample. When the reading is complete (~3 seconds), remove the sample tube.
- Record your concentrations in ng/µl in your notes and directly on the tubes of your genomic DNA samples.
